Touches of Blue Part 3

The last of the blue touches.  Some new cushion covers.  The pretty patterned ones were made from vintage sari fabric with a linen lining, 

The Scotty dog came from a vintage embroidered antimacassar. That cover is backed with blue and white ticking and the Scotty was given a checked blue ribbon bow!

It’s all come together quite nicely.  The origami Paper hanging is reconfigured from last year’s Christmas tree.


Touches of Blue Part 2

Yesterday I told you how I have been adding touches of blue to my neutral living room.  On the left side of my fireplace mantle piece, I have some more vintage finds.   
 

A loveable white swan, a blue ginger jar and a tapestry that I have had for a while.  Its long, thin and un-framed.  I folded it in half and placed it in a glass vase with straight sides.  It shows off the handy work nicely, and when I want a change of scenery, 


I just turn it over and show off the other half.  A temporary solution to framing a tapestry.
Our usually prolific hydrangea had only one head of blooms this year. Nevertheless it has added a fresh blueness as it has been divided up between a bowl on the coffee table and a jug on the fireplace. 


Last of the Blue Trilogy later this week!

Cotton Print Trees

Christmas Time with bonded paper and fabric squares folded into mini trees.  

The delicate bright green floral sari prints are all the decorating these simple trees need.

They may be folded from a square of normal paper or light cardboard, but 
here they are made from a fine layer of cotton fabric bonded onto good quality book print paper (those annual share report books have their uses!!)
I love the way the typography gently emerges  through the botanical pattern.


How to fold:

Fold a preliminary base. Squash fold each flap.
Crease fold each point up
Reverse fold the points and tuck under. Once again, squash fold each flap.
Crease fold each flap up. Reverse fold and tuck under.
Join each inside point with a thread. Pull in and tie to secure the tree shape.

If you would like to try the fabric option, here’s how it’s done using fusible applique paper

Cut a squares of book paper . Cut a square of fusible bonding paper, iron it onto the fabric and cut the square out.
Flatten the paper square, peel the backing paper off the fabric square, and iron the fabric onto the paper square.

How To Make The Modular Tree.

Yesterday I showed you the Christmas Tree hanging in my living room.  It is made from individual folded squares of recycled paper, and strung together abacus-like to form a tree.

There are many decorative square shapes that you can fold.  
Here is a Pictorial to make up the squares. I used painted book paper squares for the tree, but I am using plain book paper to show the technique I used. 


Slits were cut on the back of each square to thread the string through.
I used coarse string to create enough friction to keep the shapes from slipping down and out of position.
The tree was laid out on the floor before each string was threaded. Refer back to the picture in yesterday’s post for the pattern.

The rod at the top of the mural was made from a large rectangle of waste paper, rolled obliquely into a long paper rod and secured with some wood glue.   
Each string was knotted around the paper rod.


Colourful tissue paper squares were inserted inside some of the shapes.

In the next post I’ll tell you about painting the book paper and the pattern I randomly printed on some of the squares. 

Modular Paper Tree

This year some alternate Christmas decor is up and hanging in our living space.

Recycled paper square were folded and supspended to form a modular hanging tree.  
I love the vibrant geometric textured feel.  

In the next couple of blog posts, I’ll tell you how I made it.  

Prepare to hear about painting paper with acrylic, Collagraph printing (I learnt a new term there),  Origami folding, and paper rolling. 
How-to over here

Creative Process from My Perspective

“Go through the process” has become a life long personal and family mantra.  When we  don’t know what the outcome of a situation is going to be, we resign ourselves to the comfort of knowing – All we can do for now is – Go through the process.
In my experience, the design and development of a new product is a process that always takes longer than I think it will. From the rush of the initial idea to the end product is often a long way.

Its not always possible to foresee  problems, and I often start out optimistic for a quick outcome.

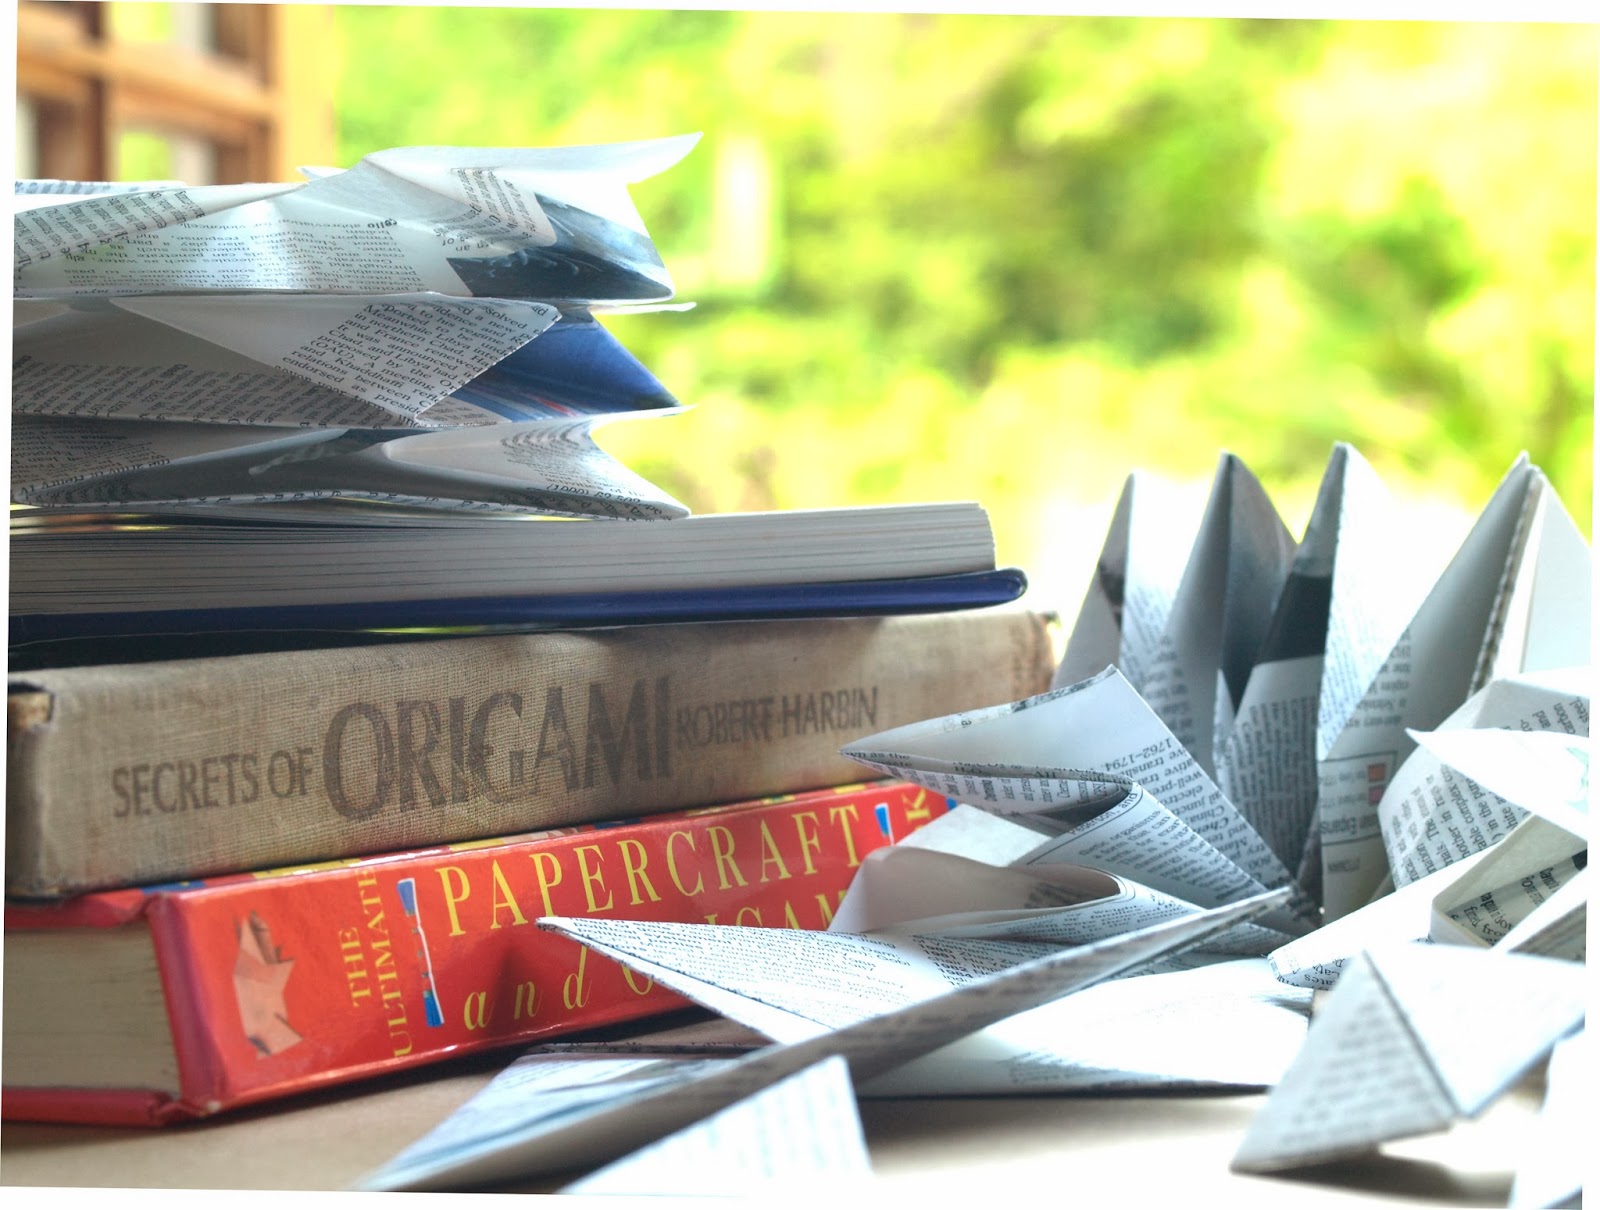
No true creative wants to copy anyone. Even though I want to be original and stretch my mind, there is a need for some research.  Basic skills can be learnt. I don’t want to waste time reinventing the wheel, but I also like to have a fresh approach without pre-conceived ideas.  So successful creative endeavors need a little bit of expertise and a little bit of out the box thinking.

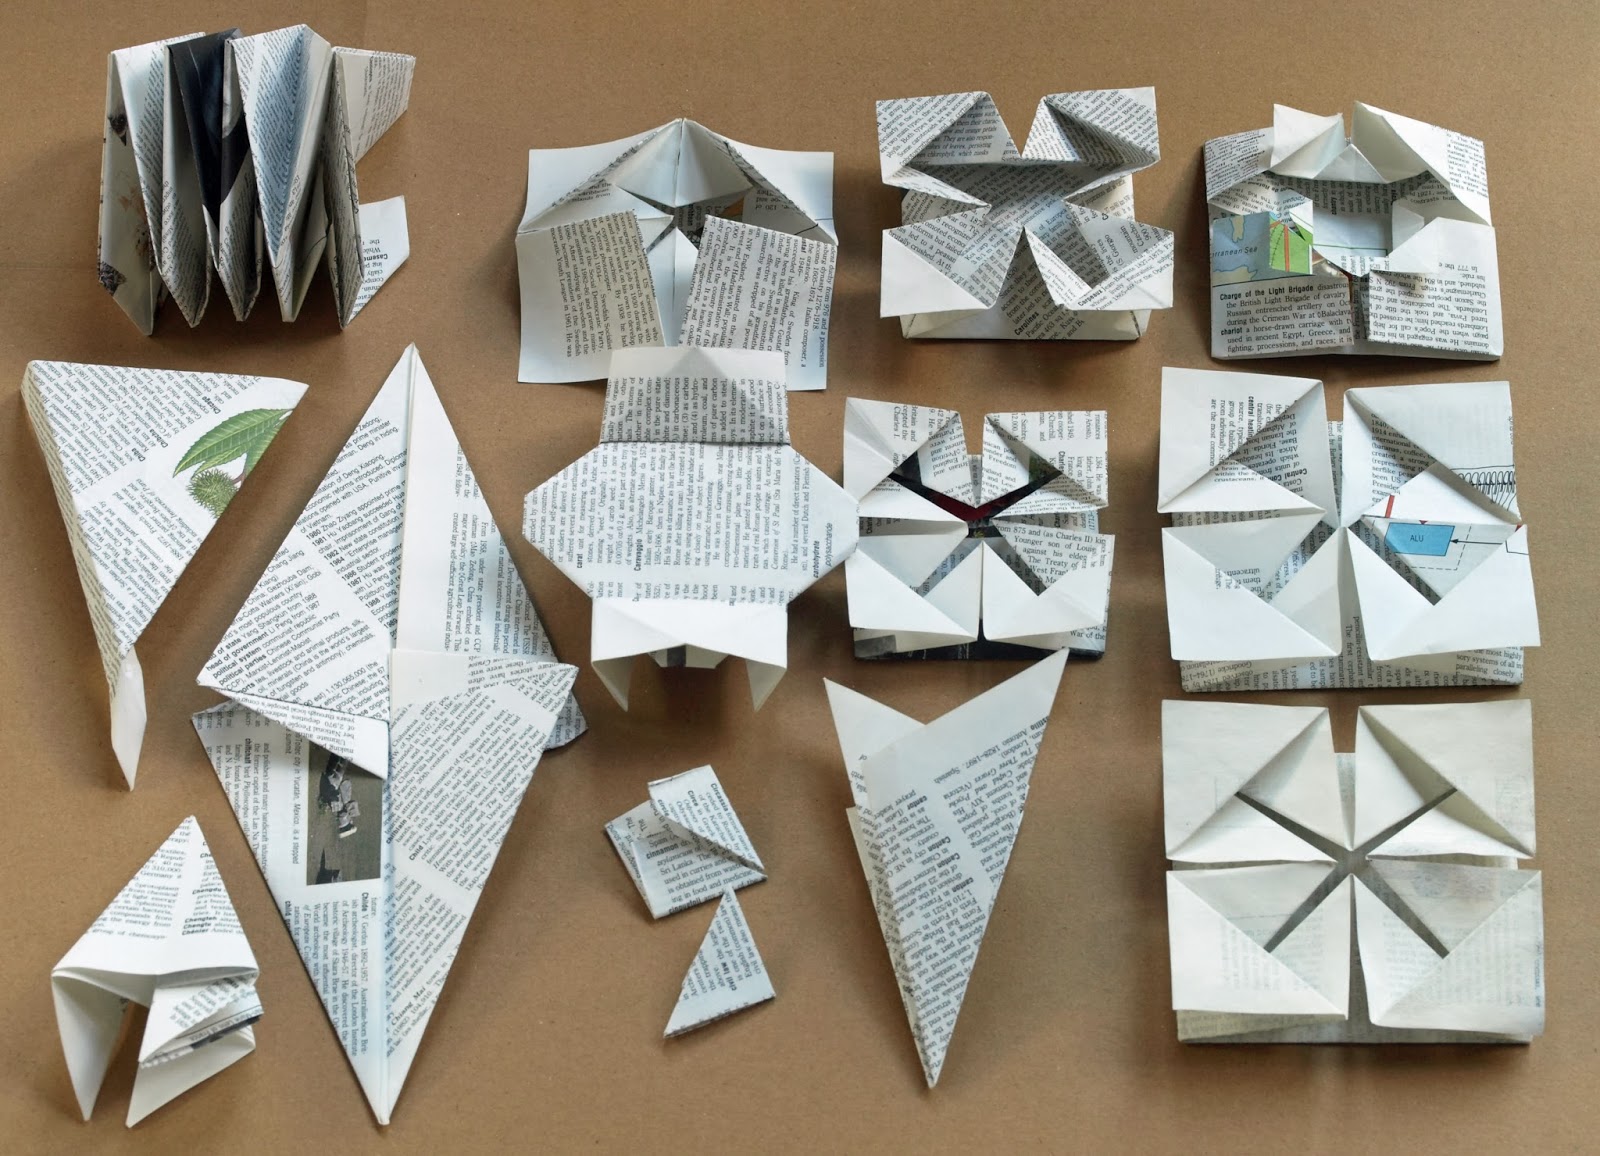
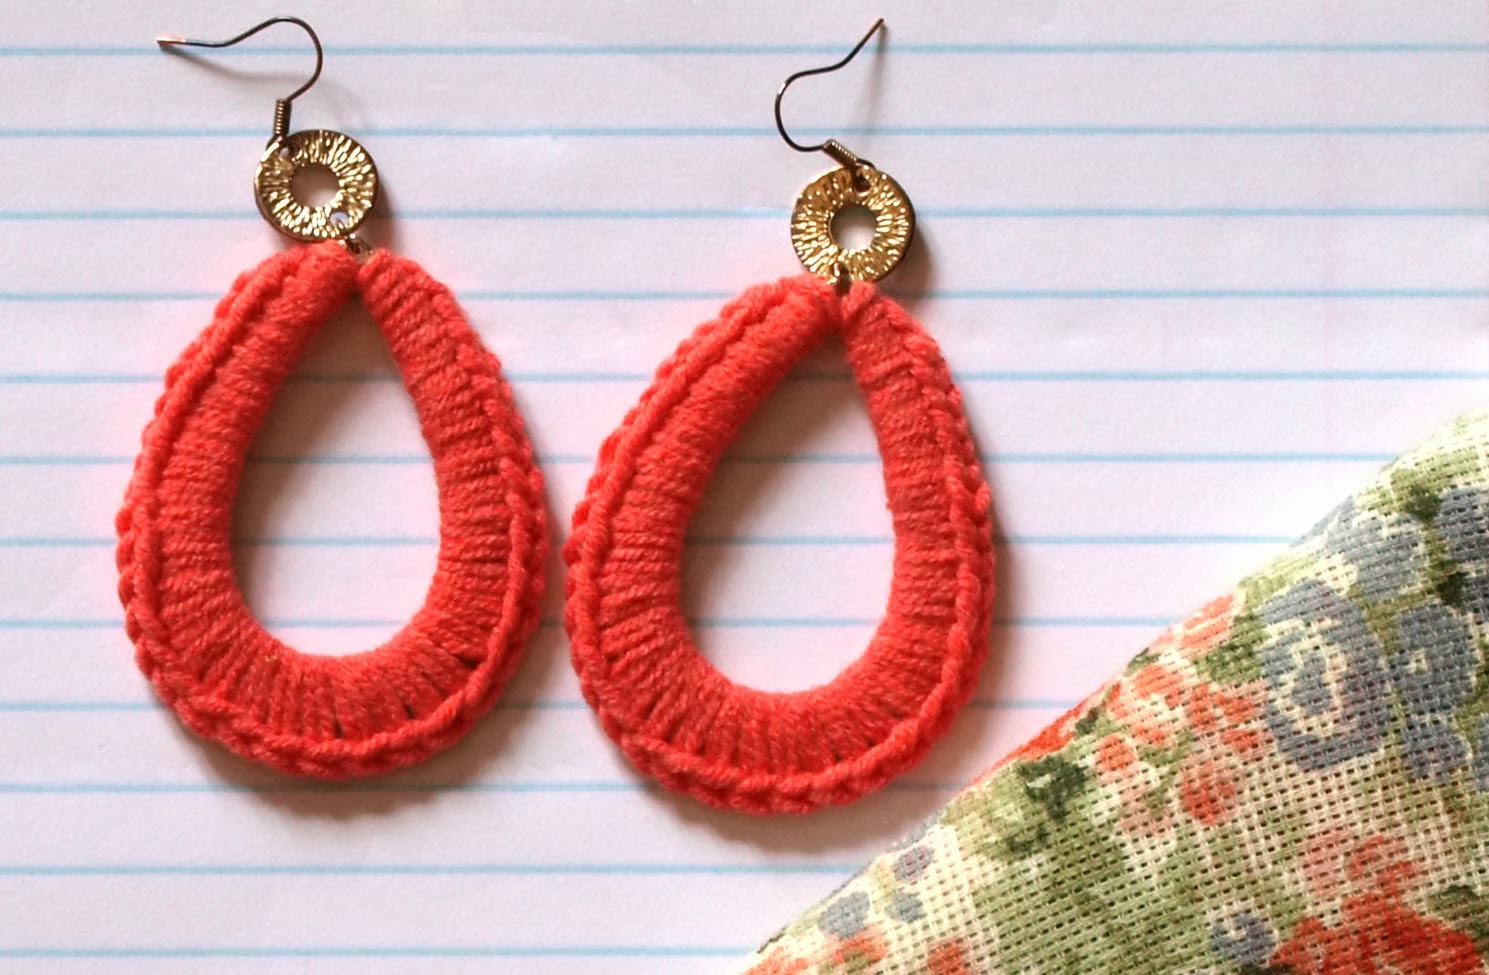
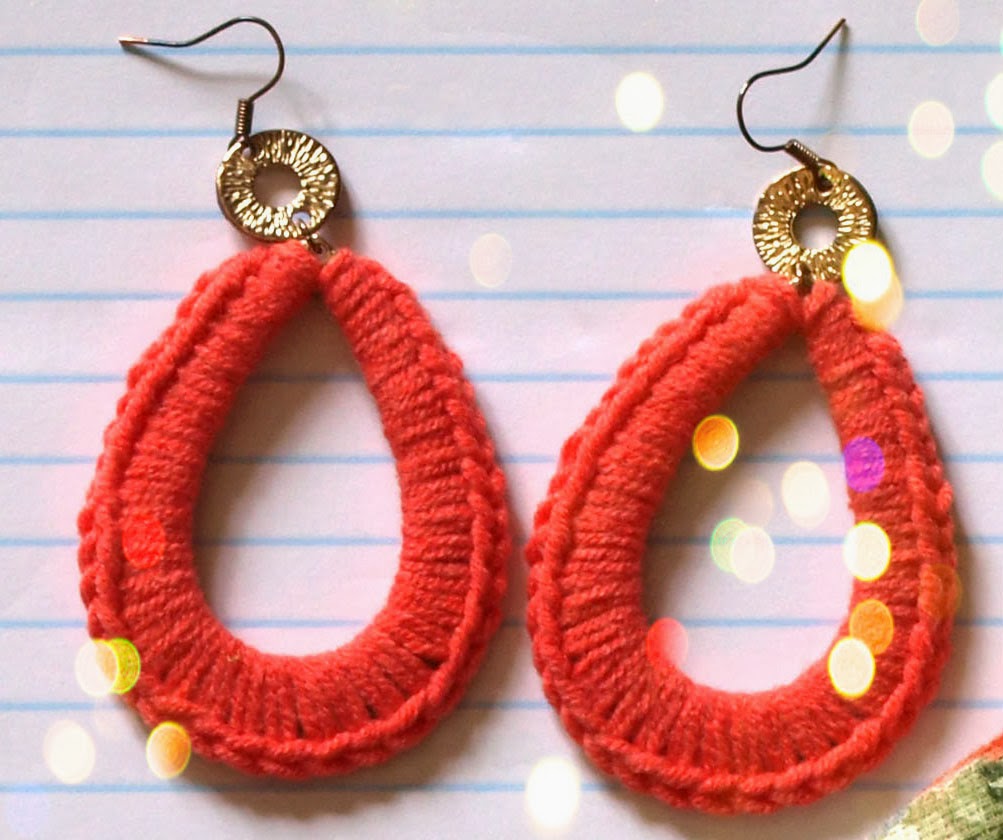
Prototyping is an essential and valuable part of the making process for me.  I am often amazed at what comes up in this exercise. The encouraging hints of what’s to come and the glaring glitches that raise their head too.

As a result I land up with a pile of process art pieces.  The not quite perfect steps to the end product, significant, sentimental and appealing in their own way.  I usually hang on to them for a while.  But for what? I have to honour them as a vital part of the process and then be ruthless and chuck them out.   

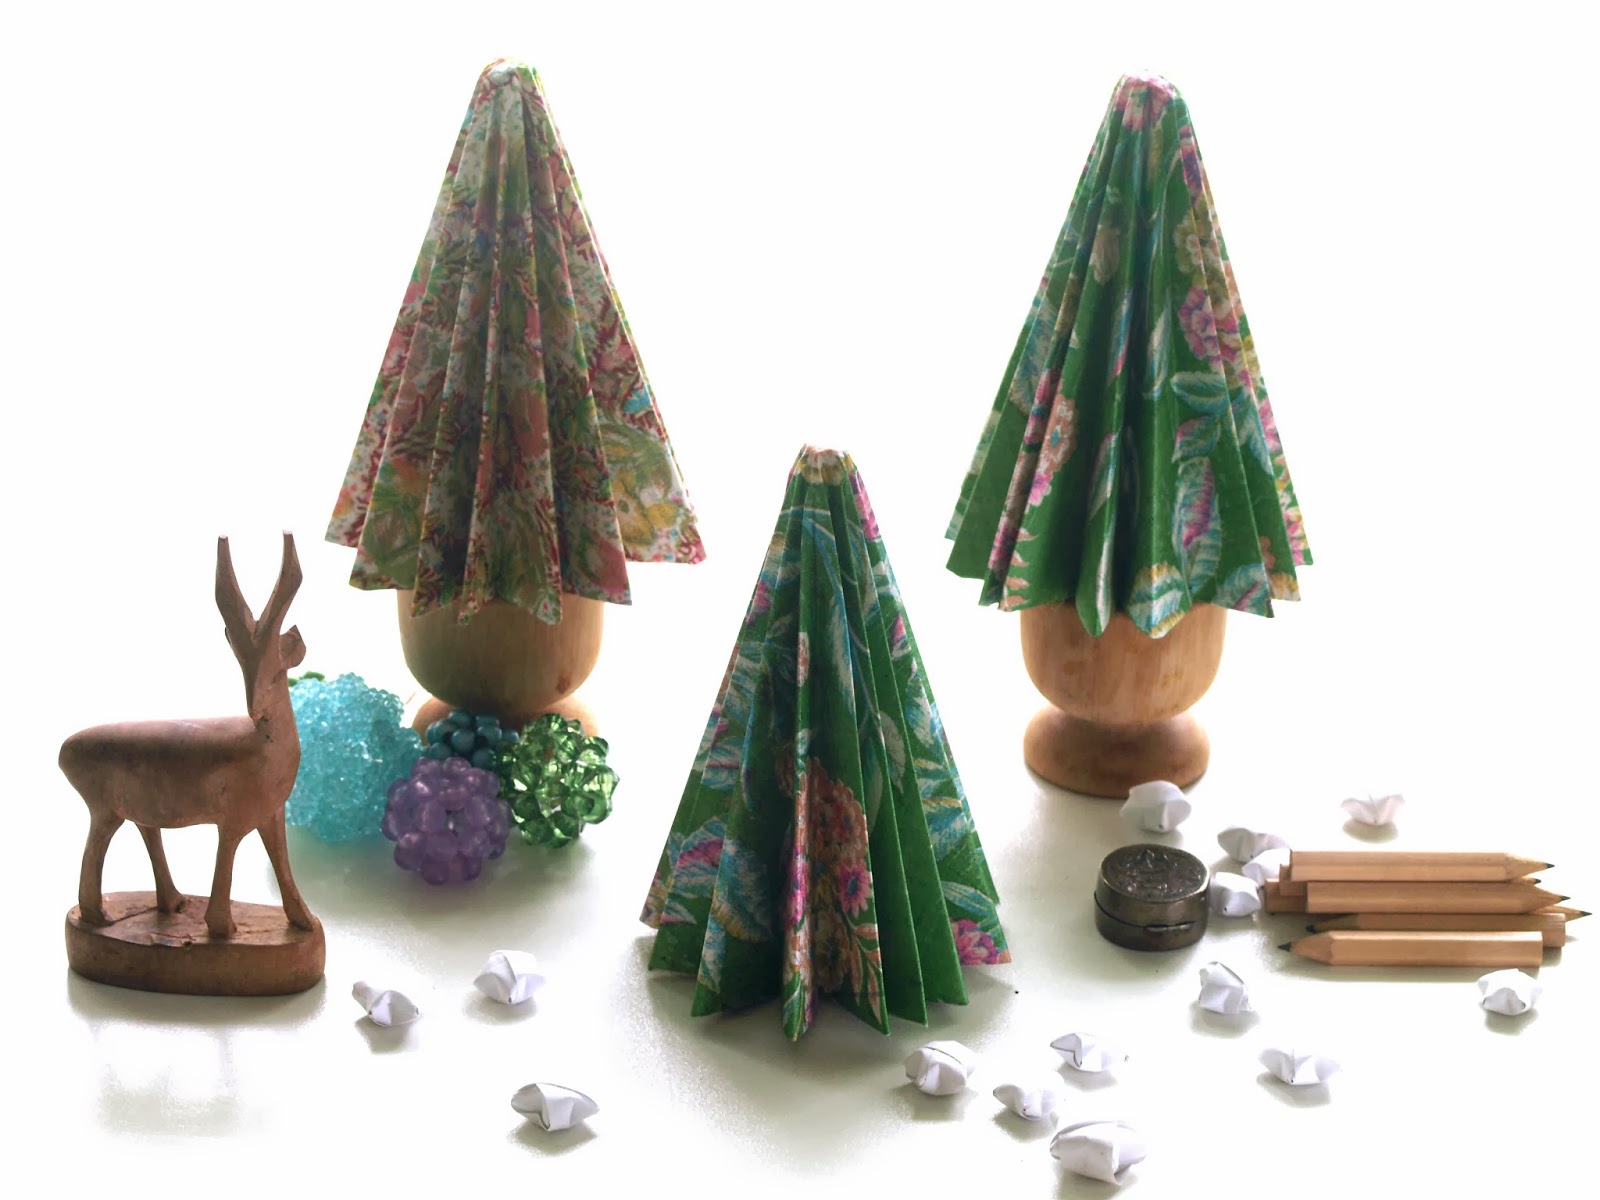
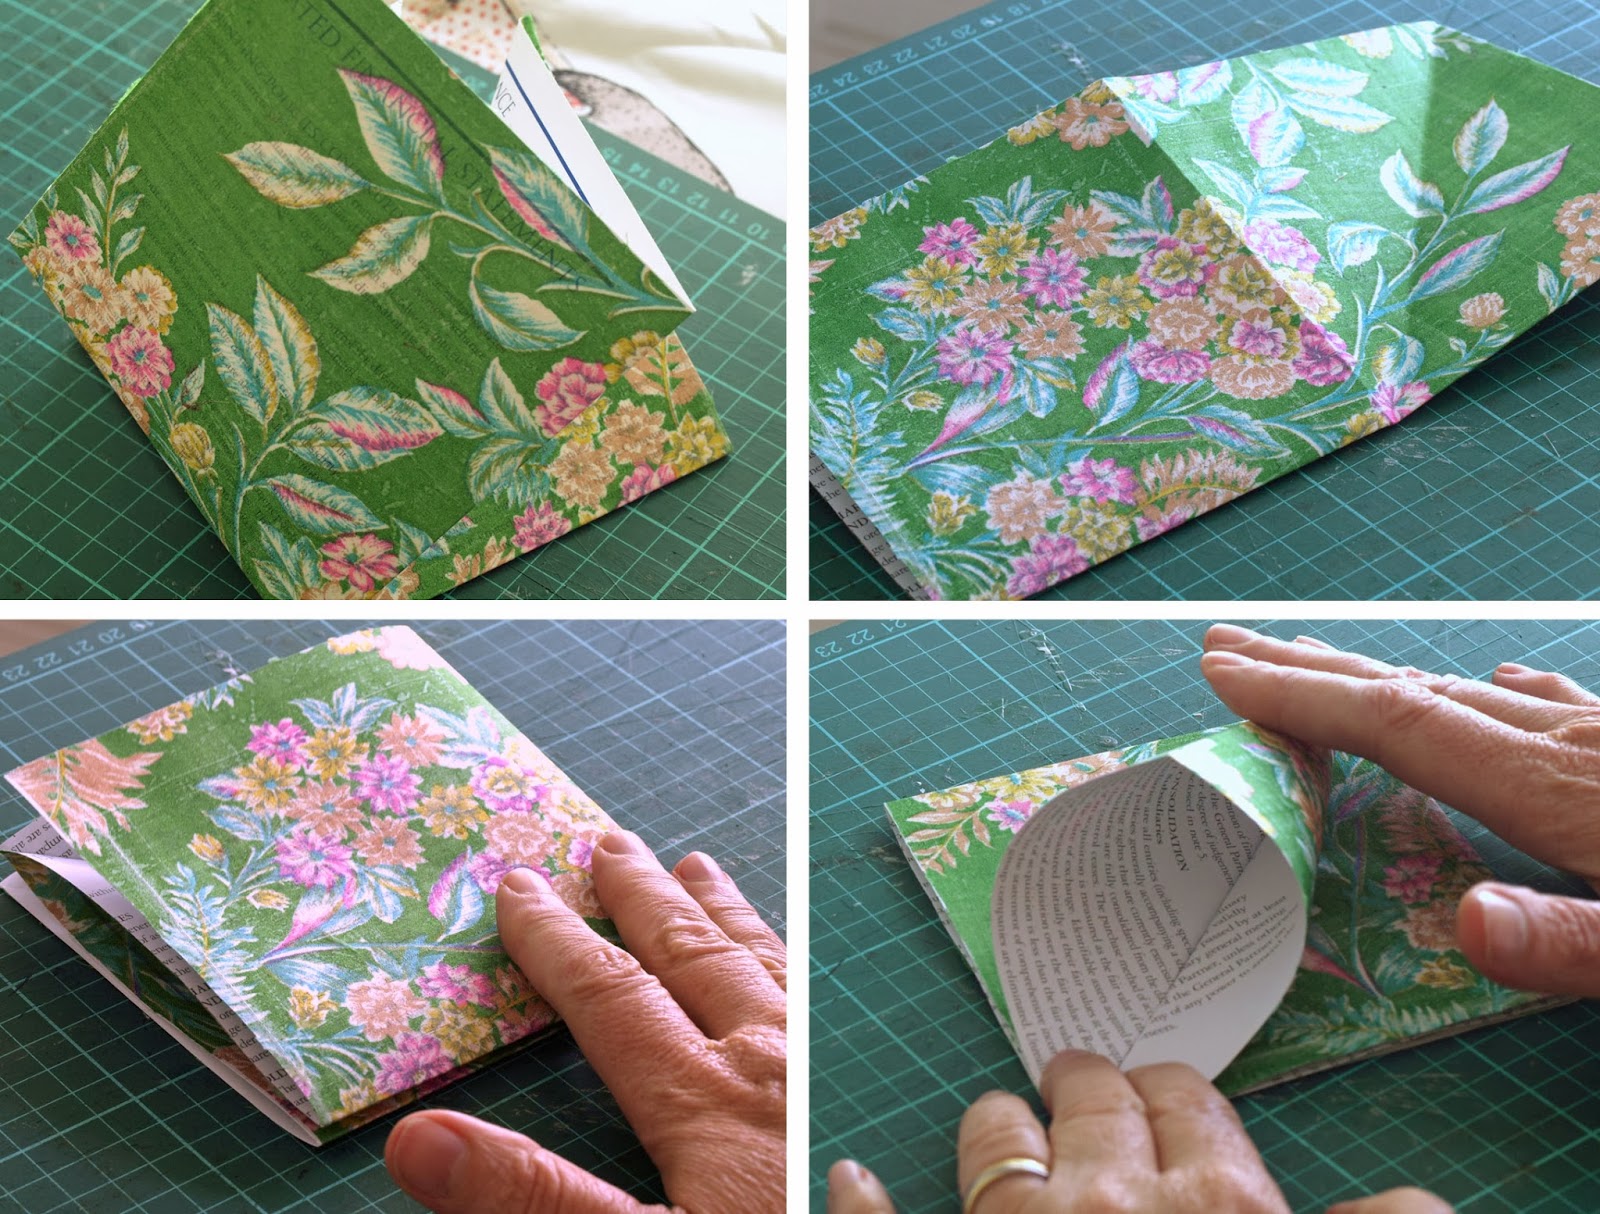
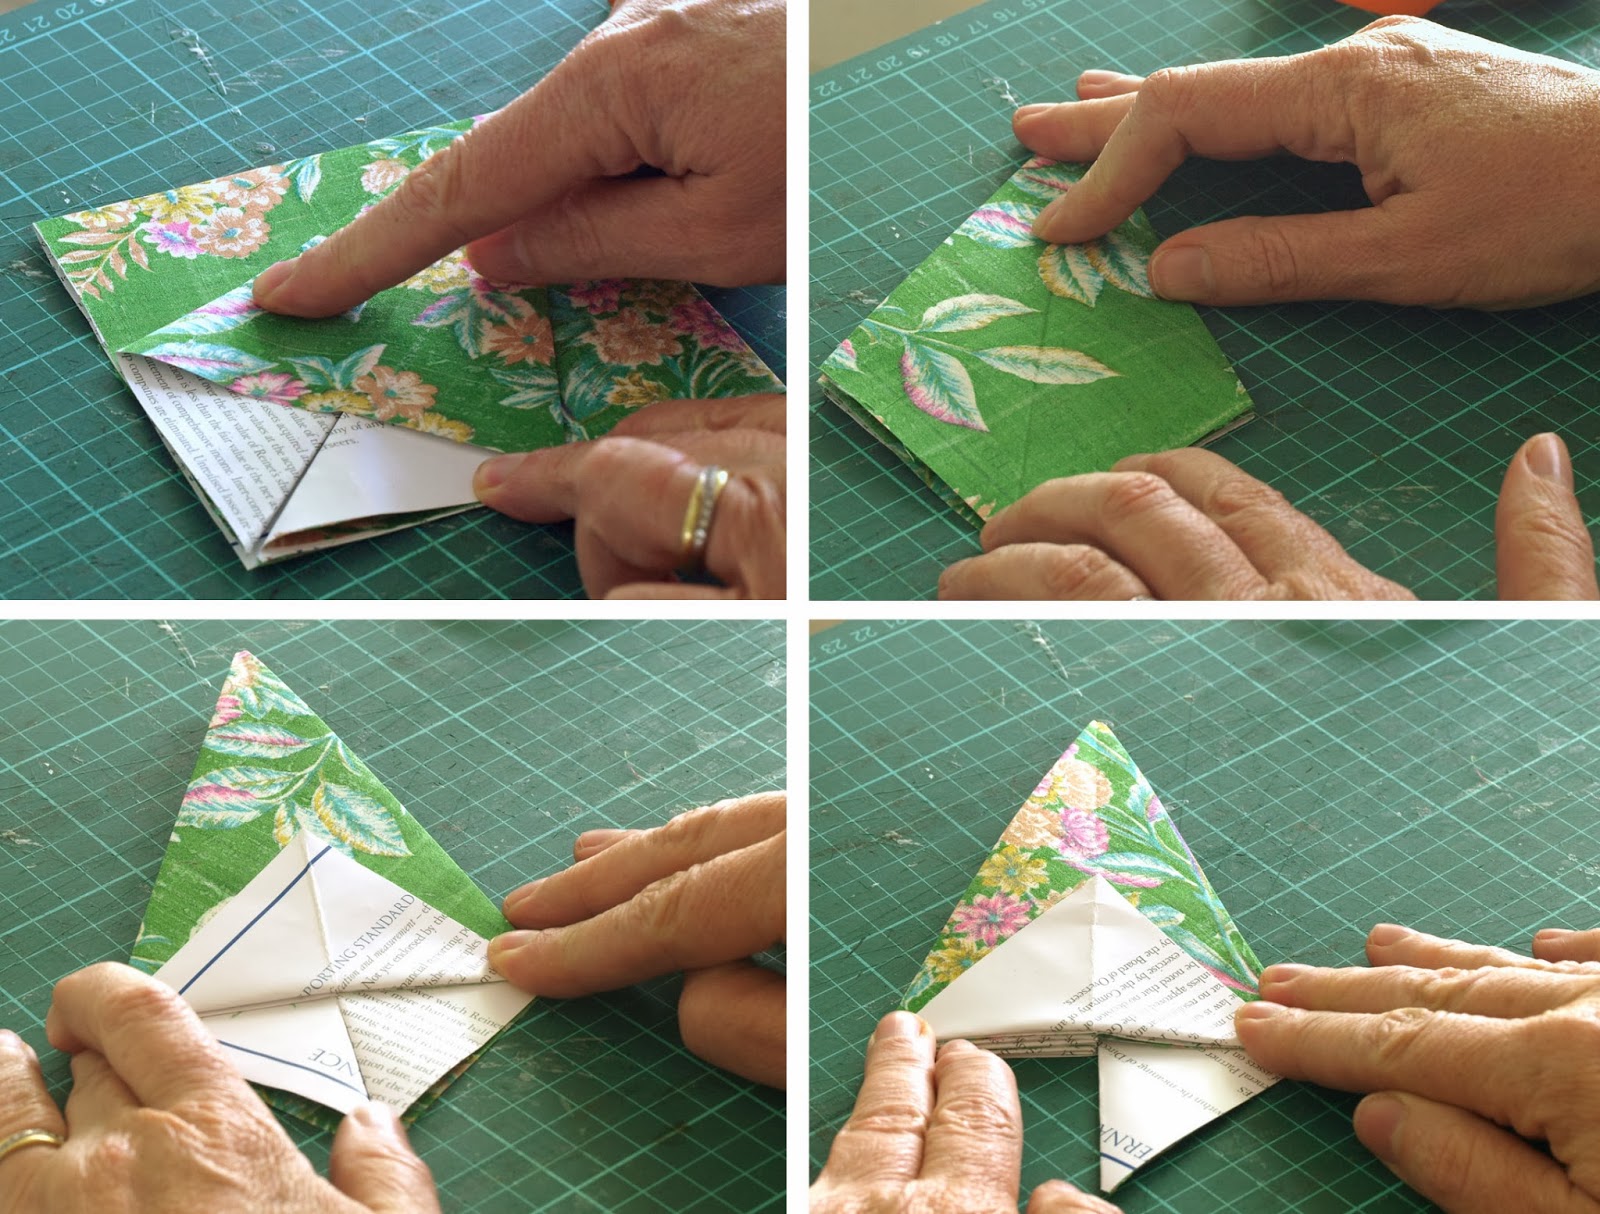
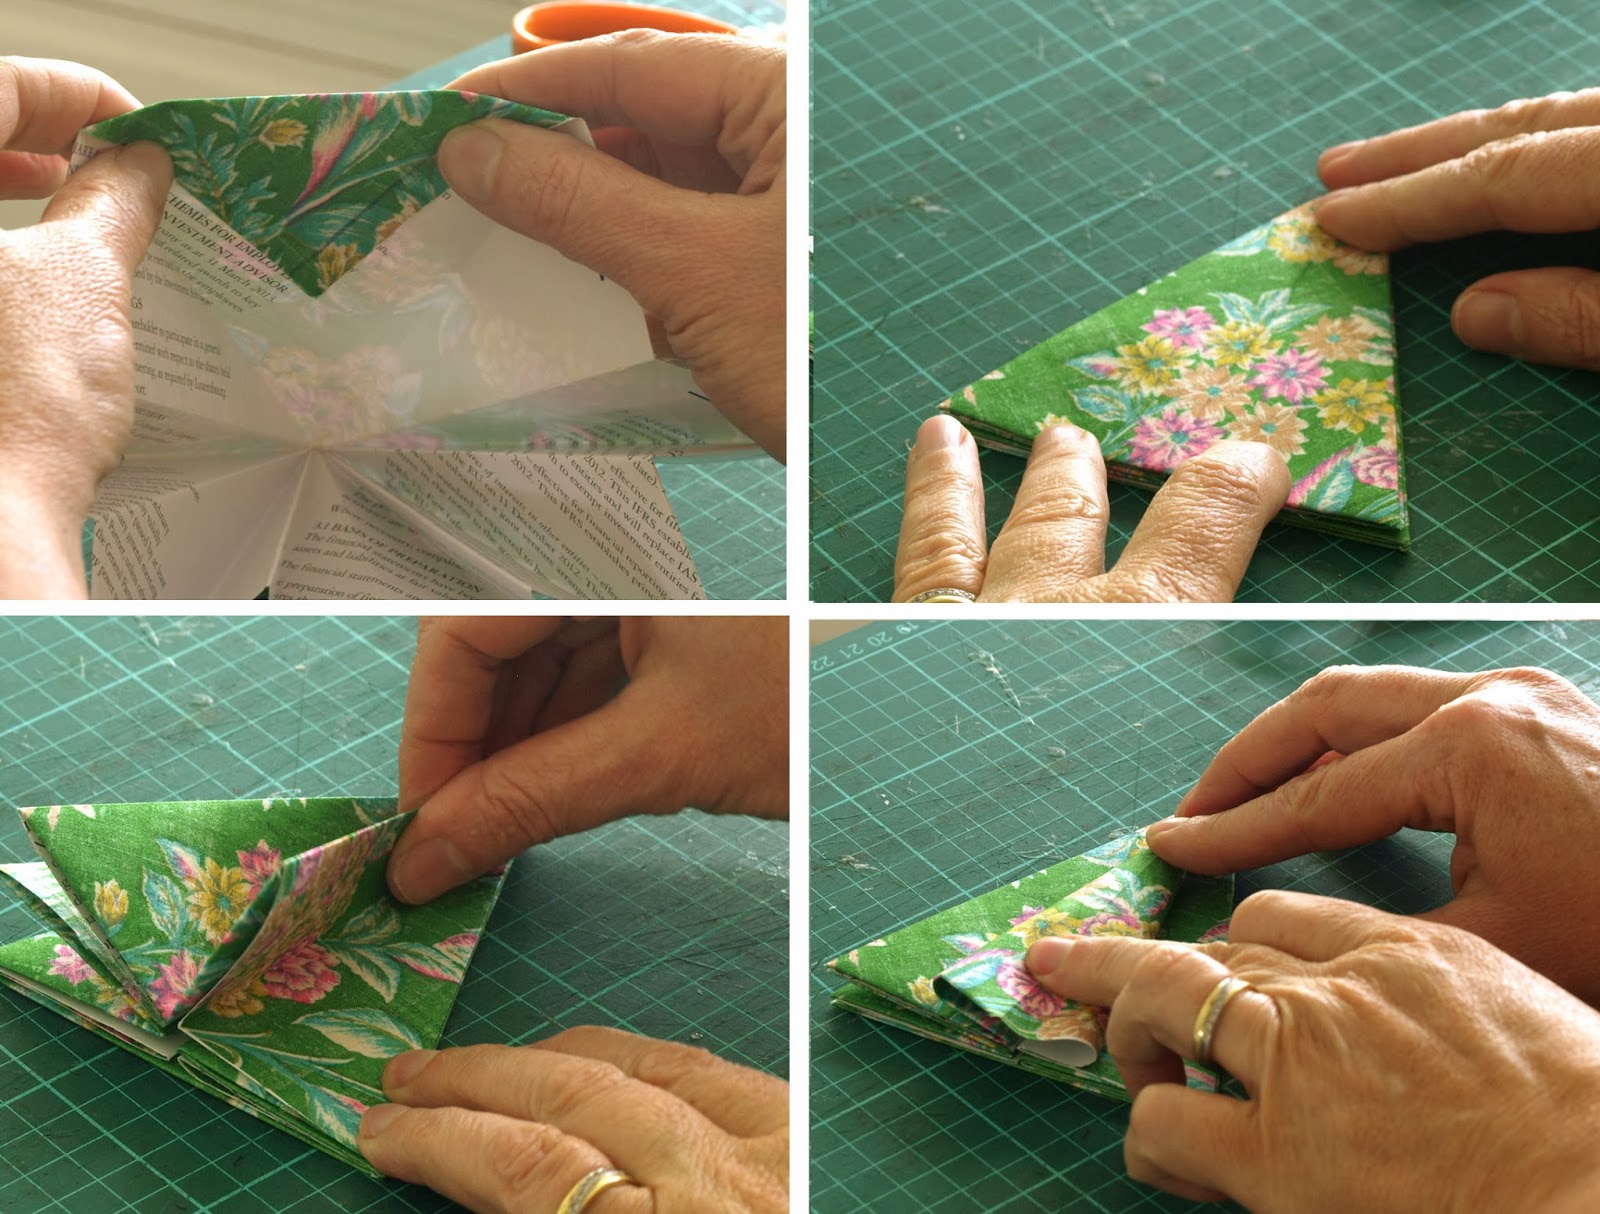
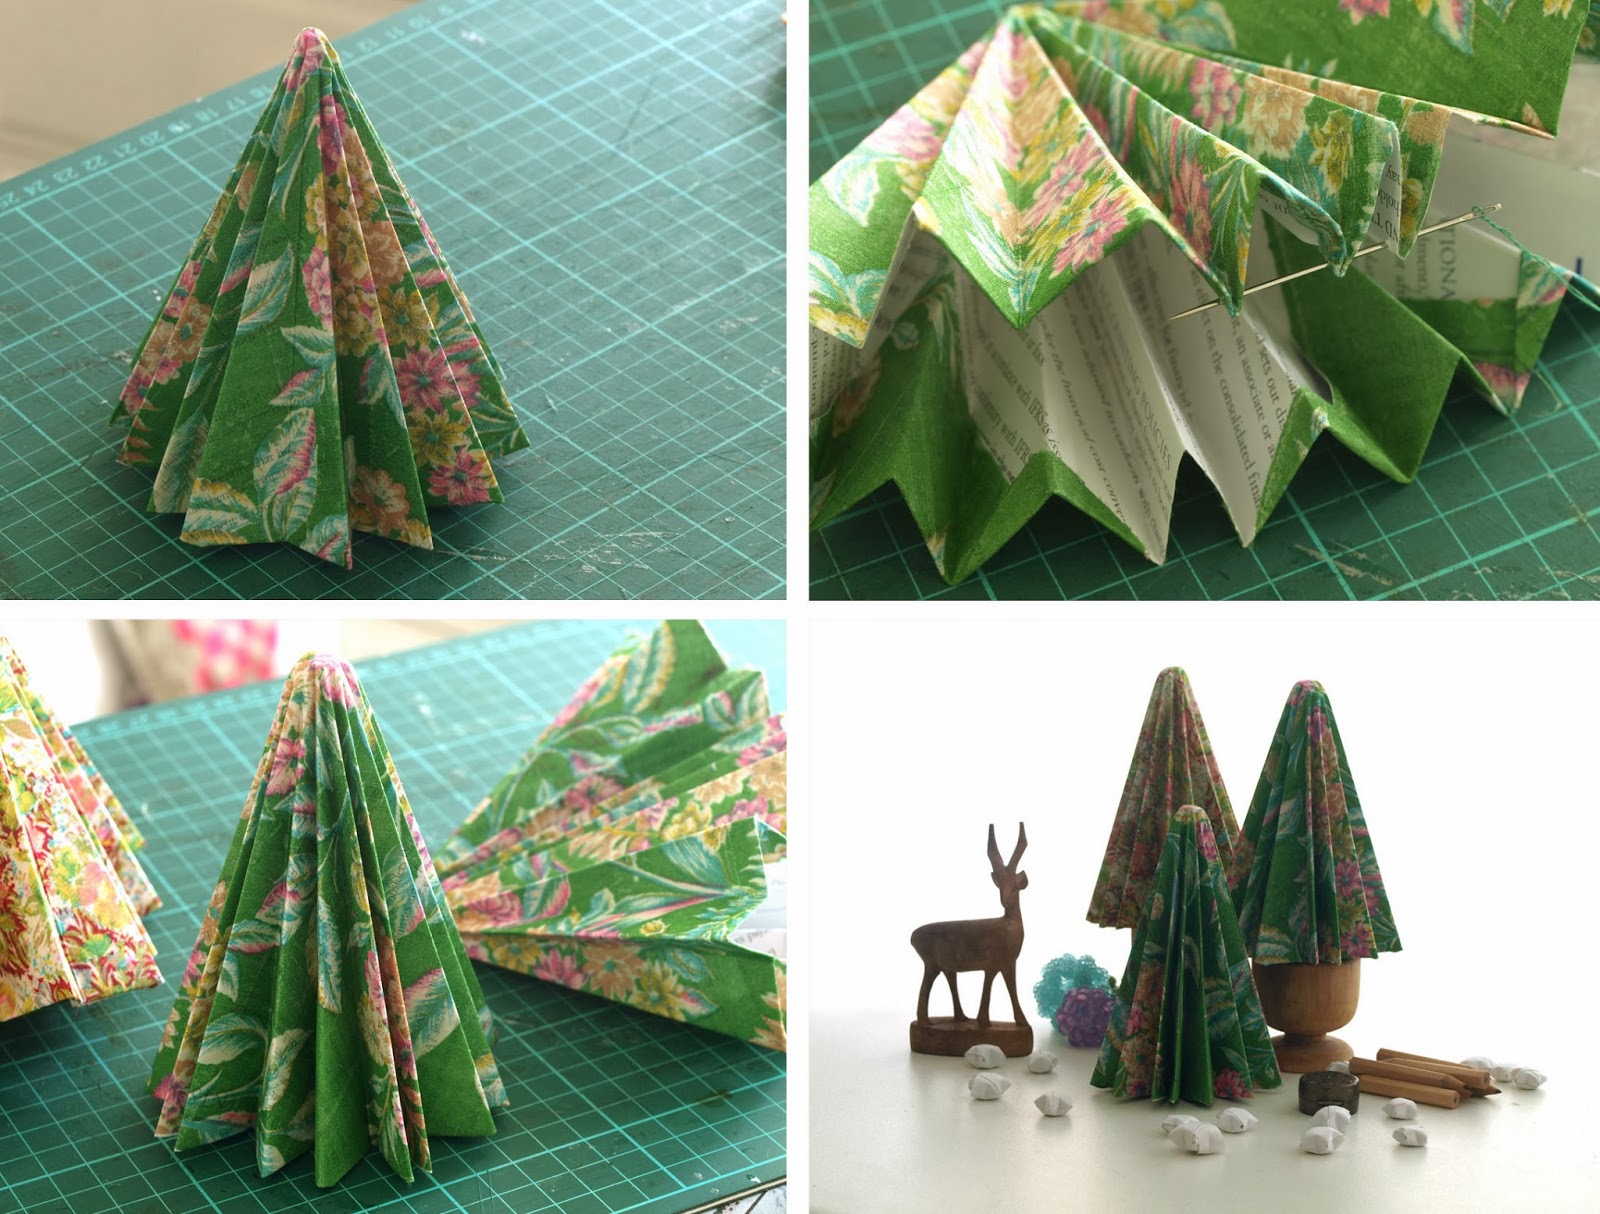
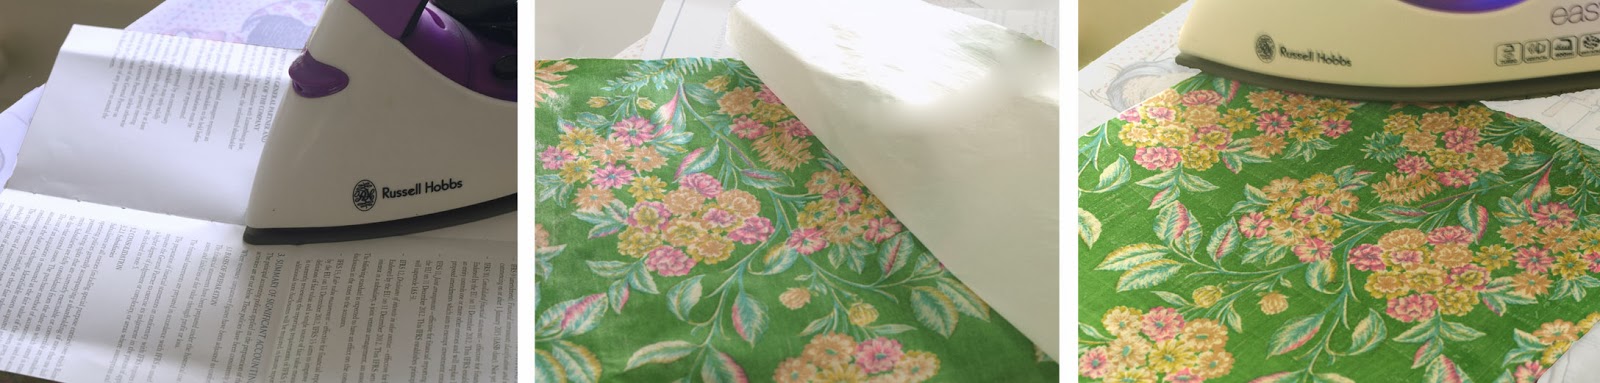
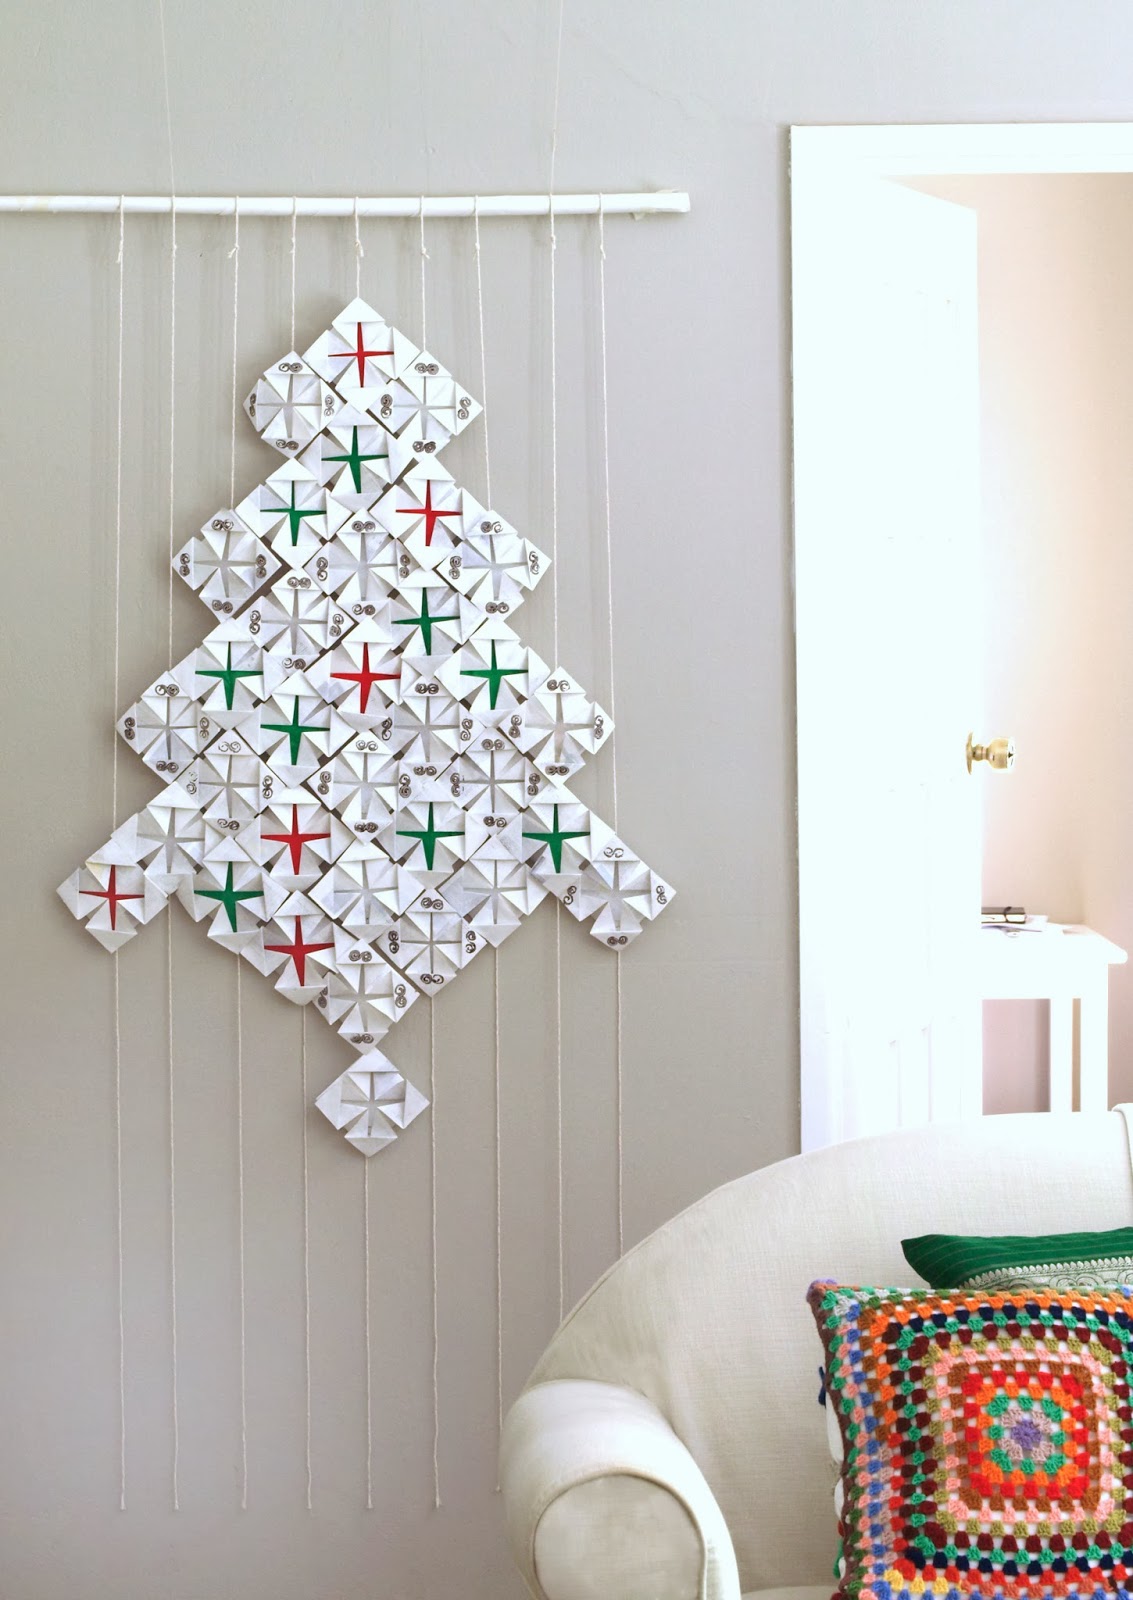
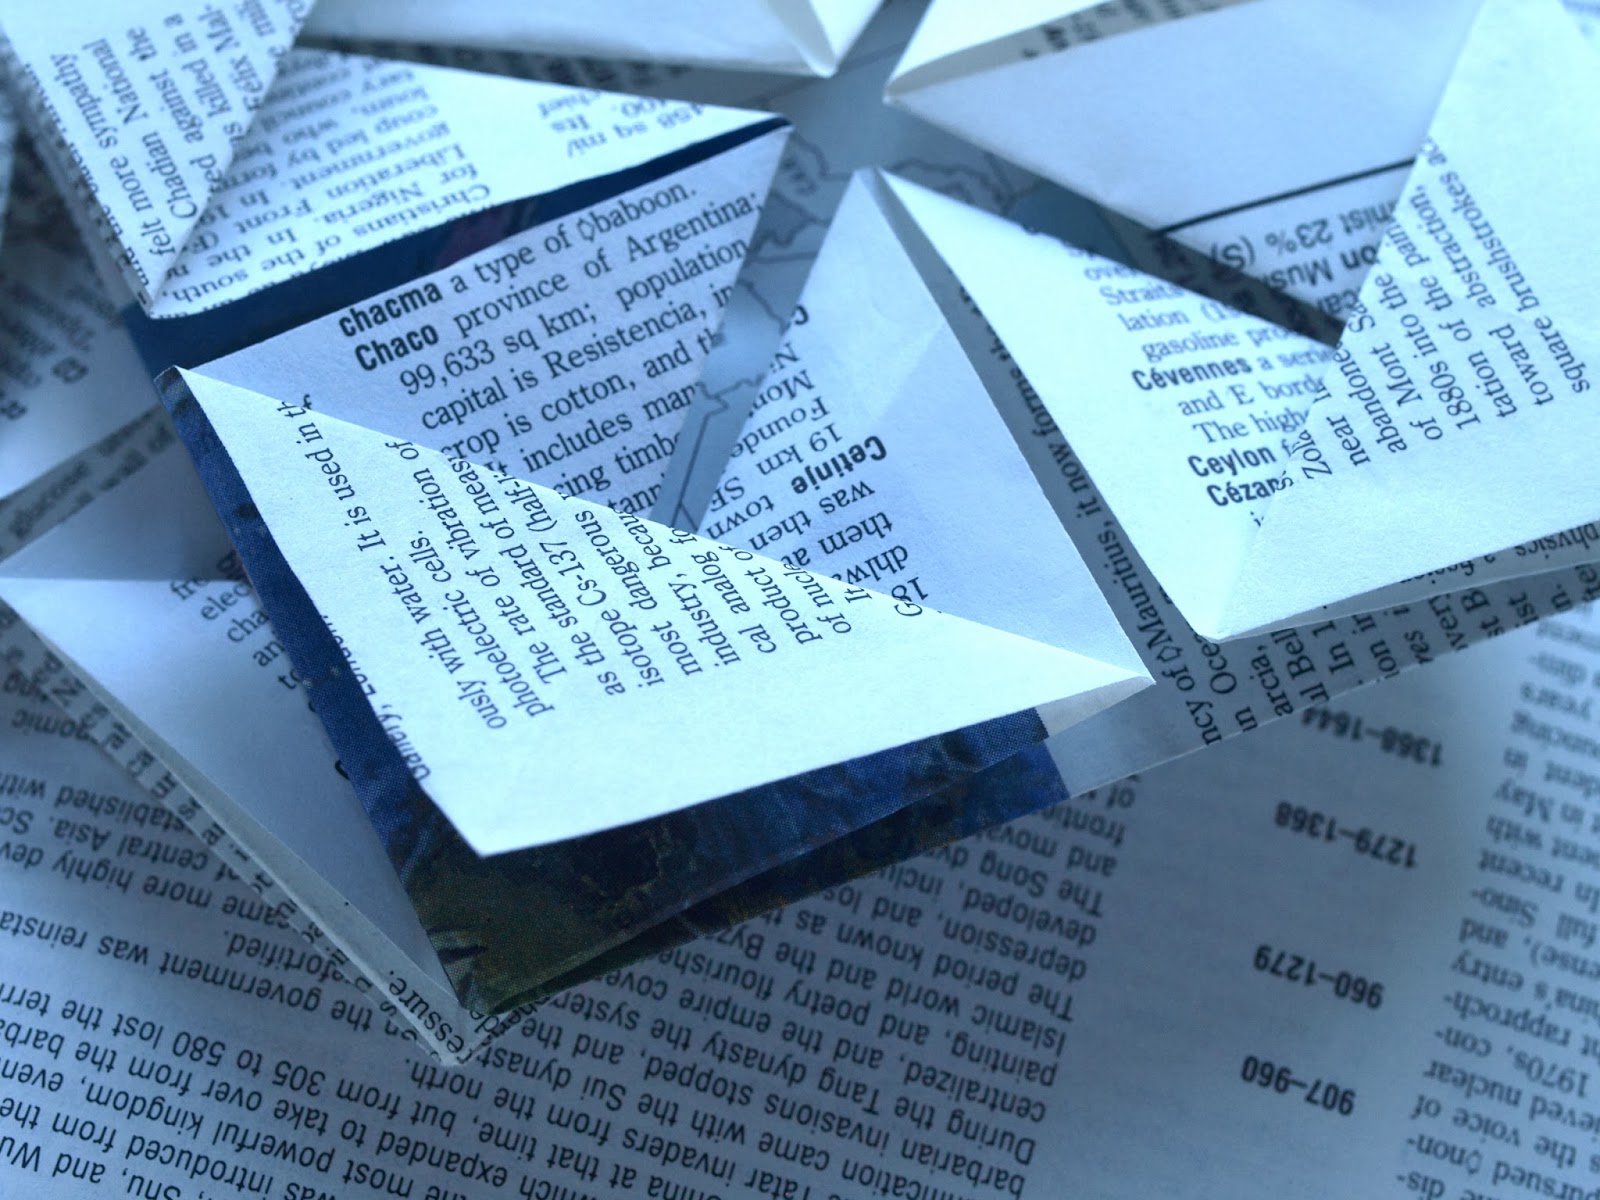
Here are some of the steps I worked through in a recent origami project:

I have learnt to value the process of thinking.  When I hit a design problem, I stop makingand deliberately concentrate on thinkingthrough options. Often taking a complete break, and coming back again later brings fresh insight

The more I make something, the better I get at it.  There is always a growth in skill as time goes by.  Sometimes when I see the progress I’ve made, I relegate early production pieces into the prototype category.  

And so these are my companions on most design process journeys: 

Inspiration, anticipation, frustration, desperation, doubt, solution, testing, practice,  production, repetition, therapy, boredom, completion, satisfaction, pride, joy. A creative roller coaster ride!   
 My creative process is quite slow. 
I hear melodies in my head while I’m washing the dishes and I allow my subconscious to do the work.
Sinéad O’Connor
 The creative process is a process of surrender, not control.
  Julia Cameron

Quick Earring Revival Tut

I love the simple teardrop shape of these large earrings. 
They started out their costume life shiny gold… but soon became dull and coppery

So I decided to cover them in a bright tangerine cotton thread. 


And now they’re good to go  

To cover each earring –  ss, ch 1, dc all around the loop, packing the stitches in tightly to cover the metal underneath. Pull thread through and finish the ends off.
 

Miss + Meisie Showcase

The Miss+ Meisie duo – Wendy Douglas of Sketchbok Dbn and Jess Binns of Hector and Bailey –  hosted a quality event this past weekend, and Freshly Found was so delighted to have been part of it.

Have a look at some of the pics and read all about the wonderful Miss + Meisie Showcase on Sketchbok

“We had just a fantastic response to our first Durban showcase for miss+meisie! 
A big big thank-you to all you lovely durbanites for your amazing support, and to all those that spread the word on instagram, thank-you!”

Here are some of my iPhone snaps of the event:

Book Bunting

Freshly Found cut-out and ink-coloured hearts on book paper bunting at the
Amazing Alternate Wedding Fair in Durban this weeknd.  

Visit the Fair between 9 and 3 on Sunday at Upstairs, 202A Florida Road, Durban. A string of these will be in each goodie bag for special guests on Saturday night!

Gen Motley has curated an incredible line up of local talent

Freshly Found paper products will be there too.

Exciting Diary Dates…

Freshly Found will be at 2 very super-cool events at the beginning of October.

The Miss + Meisie Pop-up Shop will be running from Friday the 4th October until Sunday the 6th at The Factory Cafe.  Friday will be a chatty, meeting and shopping day with master classes being run on Saturday and Sunday. Find out lots more here
 

The I Love Pop-up Shop – Alternative Wedding Fair launches on Saturday the 5th October with an exclusive event for 50 brides-to-be and an open day for the whole of Sunday.
Freshly Found will be launching some new products at these events.